Learn How to Edit Videos with Adobe Premiere Pro Tutorials.
I’ve been making films since I was a little kid. Back then I would shoot roll after roll of super 8 film and hand splice the pieces together in my bedroom “editing suite”. It was always exciting to crank up that clacketty old projector and debut my latest masterpiece to family and friends. But the biggest thrill for me was the process of creating a story from the pieces. Technology has changed a lot since then, but I still get an adrenalin rush when I’m editing and I start to feel something from watching my video. If you want to feel that rush and edit your own mini wildlife documentaries or travel videos for YouTube or Facebook, here are a few quick tips on how to edit videos, where to start, and how some simple Adobe Premiere Pro tutorials can get you up to speed quickly.
*This article may contain affiliate links. We receive a small commission at no extra cost to you.*
Where To Start
We all have easy access to video cameras these days. You probably have one in your pocket or hand bag right now! Smart phones shoot high quality video and they’re always around. If some cool wildlife encounter takes you by surprise, then that’s probably what you’ll grab first. No problem! We can work with that! I often grab clips of surprise encounters with my Android phone (it’s a Moto G Plus 4th Gen and takes pretty nice photos and videos) like these bison crashing through deep snow in Yellowstone:
As you can see, you can post an unedited mediocre phone clip straight to Facebook or Youtube and still get lots of views if it’s an interesting moment. (This one got over a million views on our Facebook page!) And some phones like the newer iPhones have ridiculously good cameras and video capabilities. However, if you want to get a little more serious about shooting great wildlife videos, you’ll probably want to buy a digital SLR camera (aka DSLR) that uses interchangeable lenses.
Why choose a DSLR over a phone? There’s one important reason. Telephoto Lenses. Smart phone cameras are optimized for selfies and scenery; that means they generally have a fixed wide angle lens. Some may have a digital zoom but the quality gets bad quickly. Wild animals are not usually standing right next to you which means they will look very small in the frame. And you should not be walking up to a wild animal to make it bigger in the frame. Don’t harass wild animals just to get a video! There are a few notable exceptions in which a smart phone works well for nature videos. For example, a wide angle is great when you want to show an animal in its natural habitat and landscape. The other situation where phones are great is for closeup macro video shots of little creepy crawlies that aren’t bothered by your presence. But usually, phones aren’t great for wildlife video work because you just can’t see what’s going on. With a DSLR, you have a wide range of telephoto lenses to choose from.
Here’s the clip I was shooting in the above photo with a 500mm telephoto lens.
Plus, if you’re a photographer, you probably already have a DSLR camera. Most DSLR’s these days can shoot high definition video as well as still photos. In fact, shooting wildlife video with a DSLR still camera is far preferable to using a video camcorder (you know, that thing your dad was shooting with on Christmas morning) because of the unlimited choices of telephoto lenses. We shoot with Canon gear and Cristina just got a good deal on a refurbished Canon 80D which has some awesome video features. I’m still shooting an older Canon Rebel t3i, but the current equivalent is the Canon Rebel t6i or the Canon Rebel t7i. I like the EOS Rebel line because they are an awesome value; great video features packed into a less-expensive body. Personally I like to put my money into good lenses. The number one lens I would recommend for general wildlife video work is the Canon EF 100-400mm zoom lens. We use it constantly. It is compact enough to be easy to carry around, but has a long enough reach to shoot far-away animals. The zoom range makes it versatile and much easier to find an animal in your video shot, and then zoom in. Or if you want a dream lens you can sell your car and buy this one.
Another good option to get some super pro looking clips into your production is grab a stock clip from Adobe Stock (with this link you can get the first month for free on an annual plan.) So you got your camera, you shot some clips and now you’re ready to get down to the nitty gritty: learning how to edit videos so you can share them online.
How to Edit Videos
As I said, you can post a plain old clip to YouTube or Facebook. Sometimes those do great! Here’s a single clip of some Oxpeckers picking the nose of a Cape Buffalo that I posted on YouTube.
It got over 25,000 views, which is not bad. (This was shot with a DSLR and a 500mm telephoto lens.) But if you want to do even the most basic editing (put a few clips together, add some titles, fade out, add some music) then you need video editing software.
I edited this basic video with professional video editing software. This one has had over a million views on YouTube and is still cranking. (shot with a DSLR and a 18-55mm lens).
So what software do you choose? If you own a Mac, it probably came with iMovie. That will get the job done for basic editing. But you will soon find there are things you want to do that just can’t be accomplished with free editing software. Then it’s time to get a pro quality video editing application. The two main video editing programs in use today are Final Cut Pro (by Apple) and Adobe Premiere Pro. These are used by the entire spectrum of video editors, from amateur YouTube film-makers all the way up to broadcast television and feature film editors. I consider both of these applications to have similar capabilities and I don’t particularly recommend one over the other. I used Final Cut for many years and loved it. However, a few months ago I bought a new computer and couldn’t install all my super-old apps on it so I had to make a choice:
- Buy Final Cut Pro X (currently $300 as of writing)
- Get the Adobe Premiere Pro CC app through Creative Cloud ($20.99 per month)
- Get ALL of the Adobe apps through Creative Cloud ($52.99 per month)
For me it was a no-brainer. I use so many different Adobe apps (Photoshop, Bridge, Lightroom, Illustrator, InDesign, After Effects, Acrobat etc.) that getting the all apps subscription turned out to be an awesome deal. (Plus I’m discovering bunches of other cool creative apps that I had never even heard of.) So I subscribed, downloaded all the latest apps, and was ready to roll. A week later I got a request from Too Rare To Wear to output a new branded version of my video How To Identify and Avoid Sea Turtle Souvenirs. Hooray! Time to get editing!
I learned how to transfer my Final Cut Pro project files over to Premiere Pro CC but soon realized I had another problem. I had no idea how to edit videos with Adobe Premiere! While there are some Adobe Premiere Pro tutorials included with Adobe’s Creative Cloud, I wanted something a little more comprehensive, something to get me up to speed quickly, without having to do a lot of reading. That’s when Cristina told me about CreativeLive.
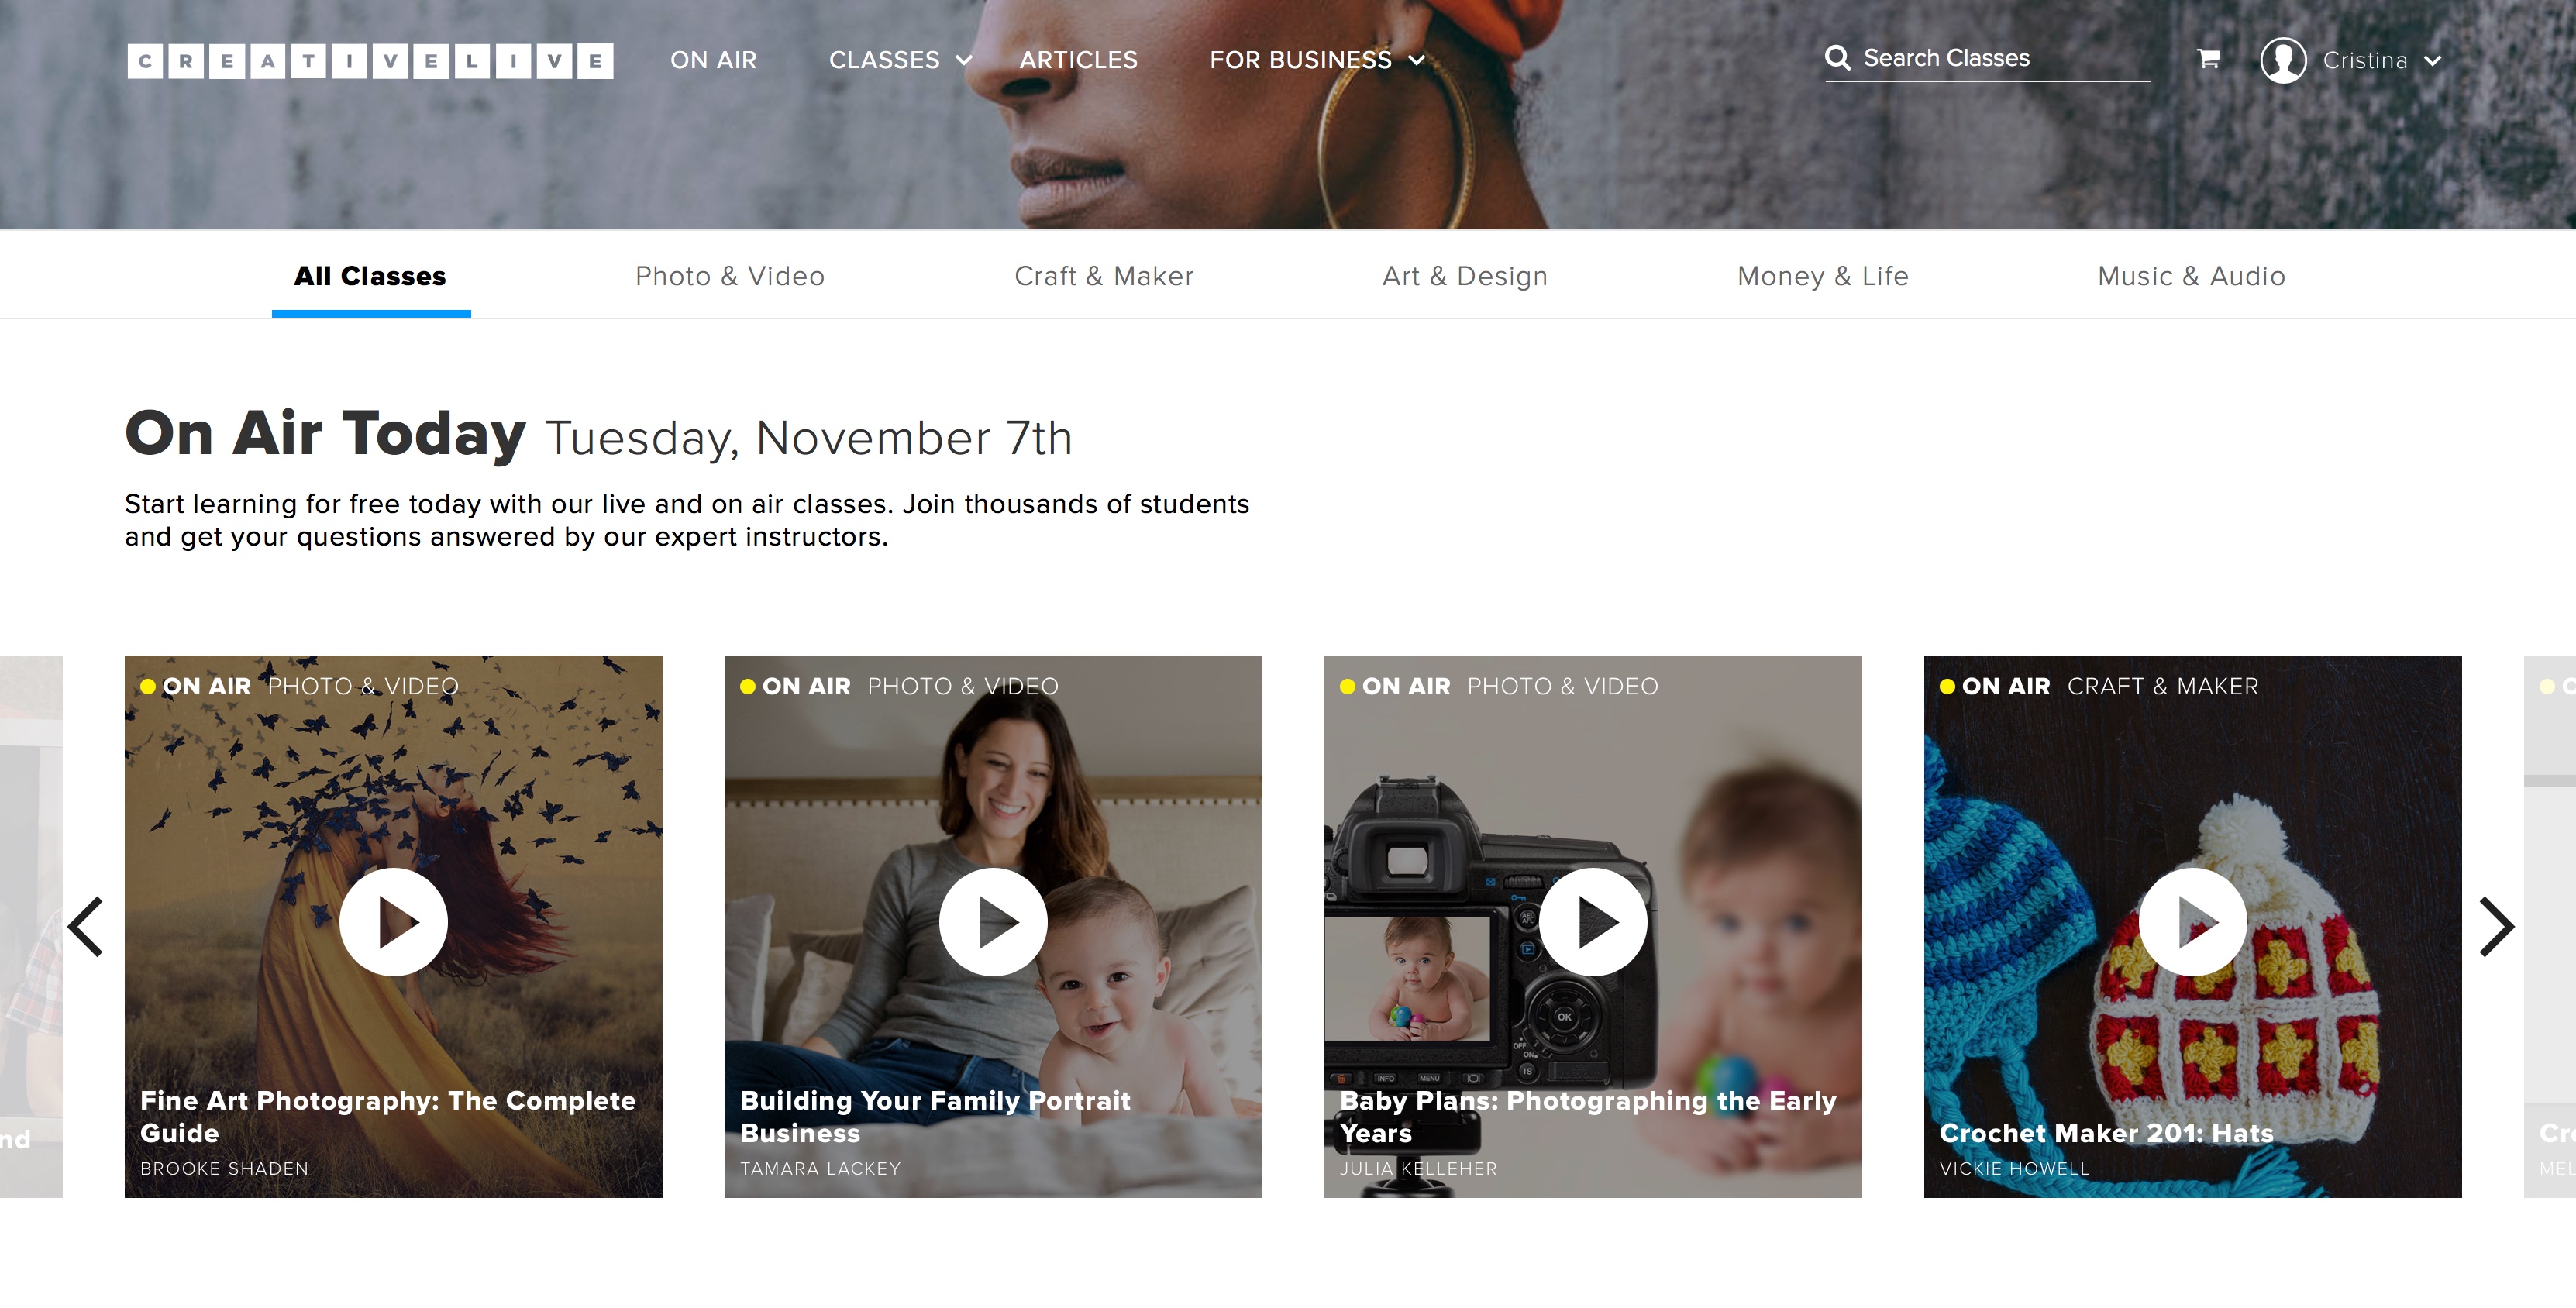
Adobe Premiere Pro Tutorials Online from CreativeLive
Not to be confused with Creative Cloud (Adobe’s subscription-based suite of creative applications and assets), CreativeLive is a different company that offers a huge array of video lessons and tutorials online, covering every sort of creative process you can imagine. Cristina had been watching photography classes and she suggested I find some lessons that teach how to edit videos with Adobe Premiere Pro tutorials. So that’s what I did.
After putzing around with some free youtube videos trying to answer my various video editing questions one-by-one, I soon realized that I needed a comprehensive guide that could give me a good grasp of the full capabilities of the program. While Final Cut and Adobe Premiere have a lot of similarities, they are different enough that I was having trouble accomplishing some basic tasks. That’s when I made the very sensible decision to learn how to edit videos by signing up for this CreativeLive class called “Adobe Premiere Pro CC Video Editing: The Complete Guide“.
Tip: Make sure to keep an eye on the CreativeLive website for free classes everyday!
A Review of CreativeLive’s Adobe Premiere Pro Tutorials
There’s no doubt that having someone explain something to you is a far easier way to absorb information than reading about it. It’s just the way our brains work. When I’m trying to learn from a book I find myself reading the same paragraph over and over before it sinks in. That’s the main reason I’d rather watch Adobe Premiere Pro tutorials than read one. And this class was no exception.
What I Liked About the Class:
Adobe Premiere Pro CC Video Editing: The Complete Guide was exactly what it claimed to be: complete. The class is designed to teach a complete novice how to edit videos using Premiere from start to finish. I’ve been editing video for many years and I still learned a ton from this class. That’s because the class offers much more than a complete understanding of how to navigate the program. The instructor Abba Shapiro is an accomplished editor who provides a lot of inside tips about why you should make certain choices in editing, not just how. I especially enjoyed the many references to keyboard shortcuts that can really speed up the editing process.
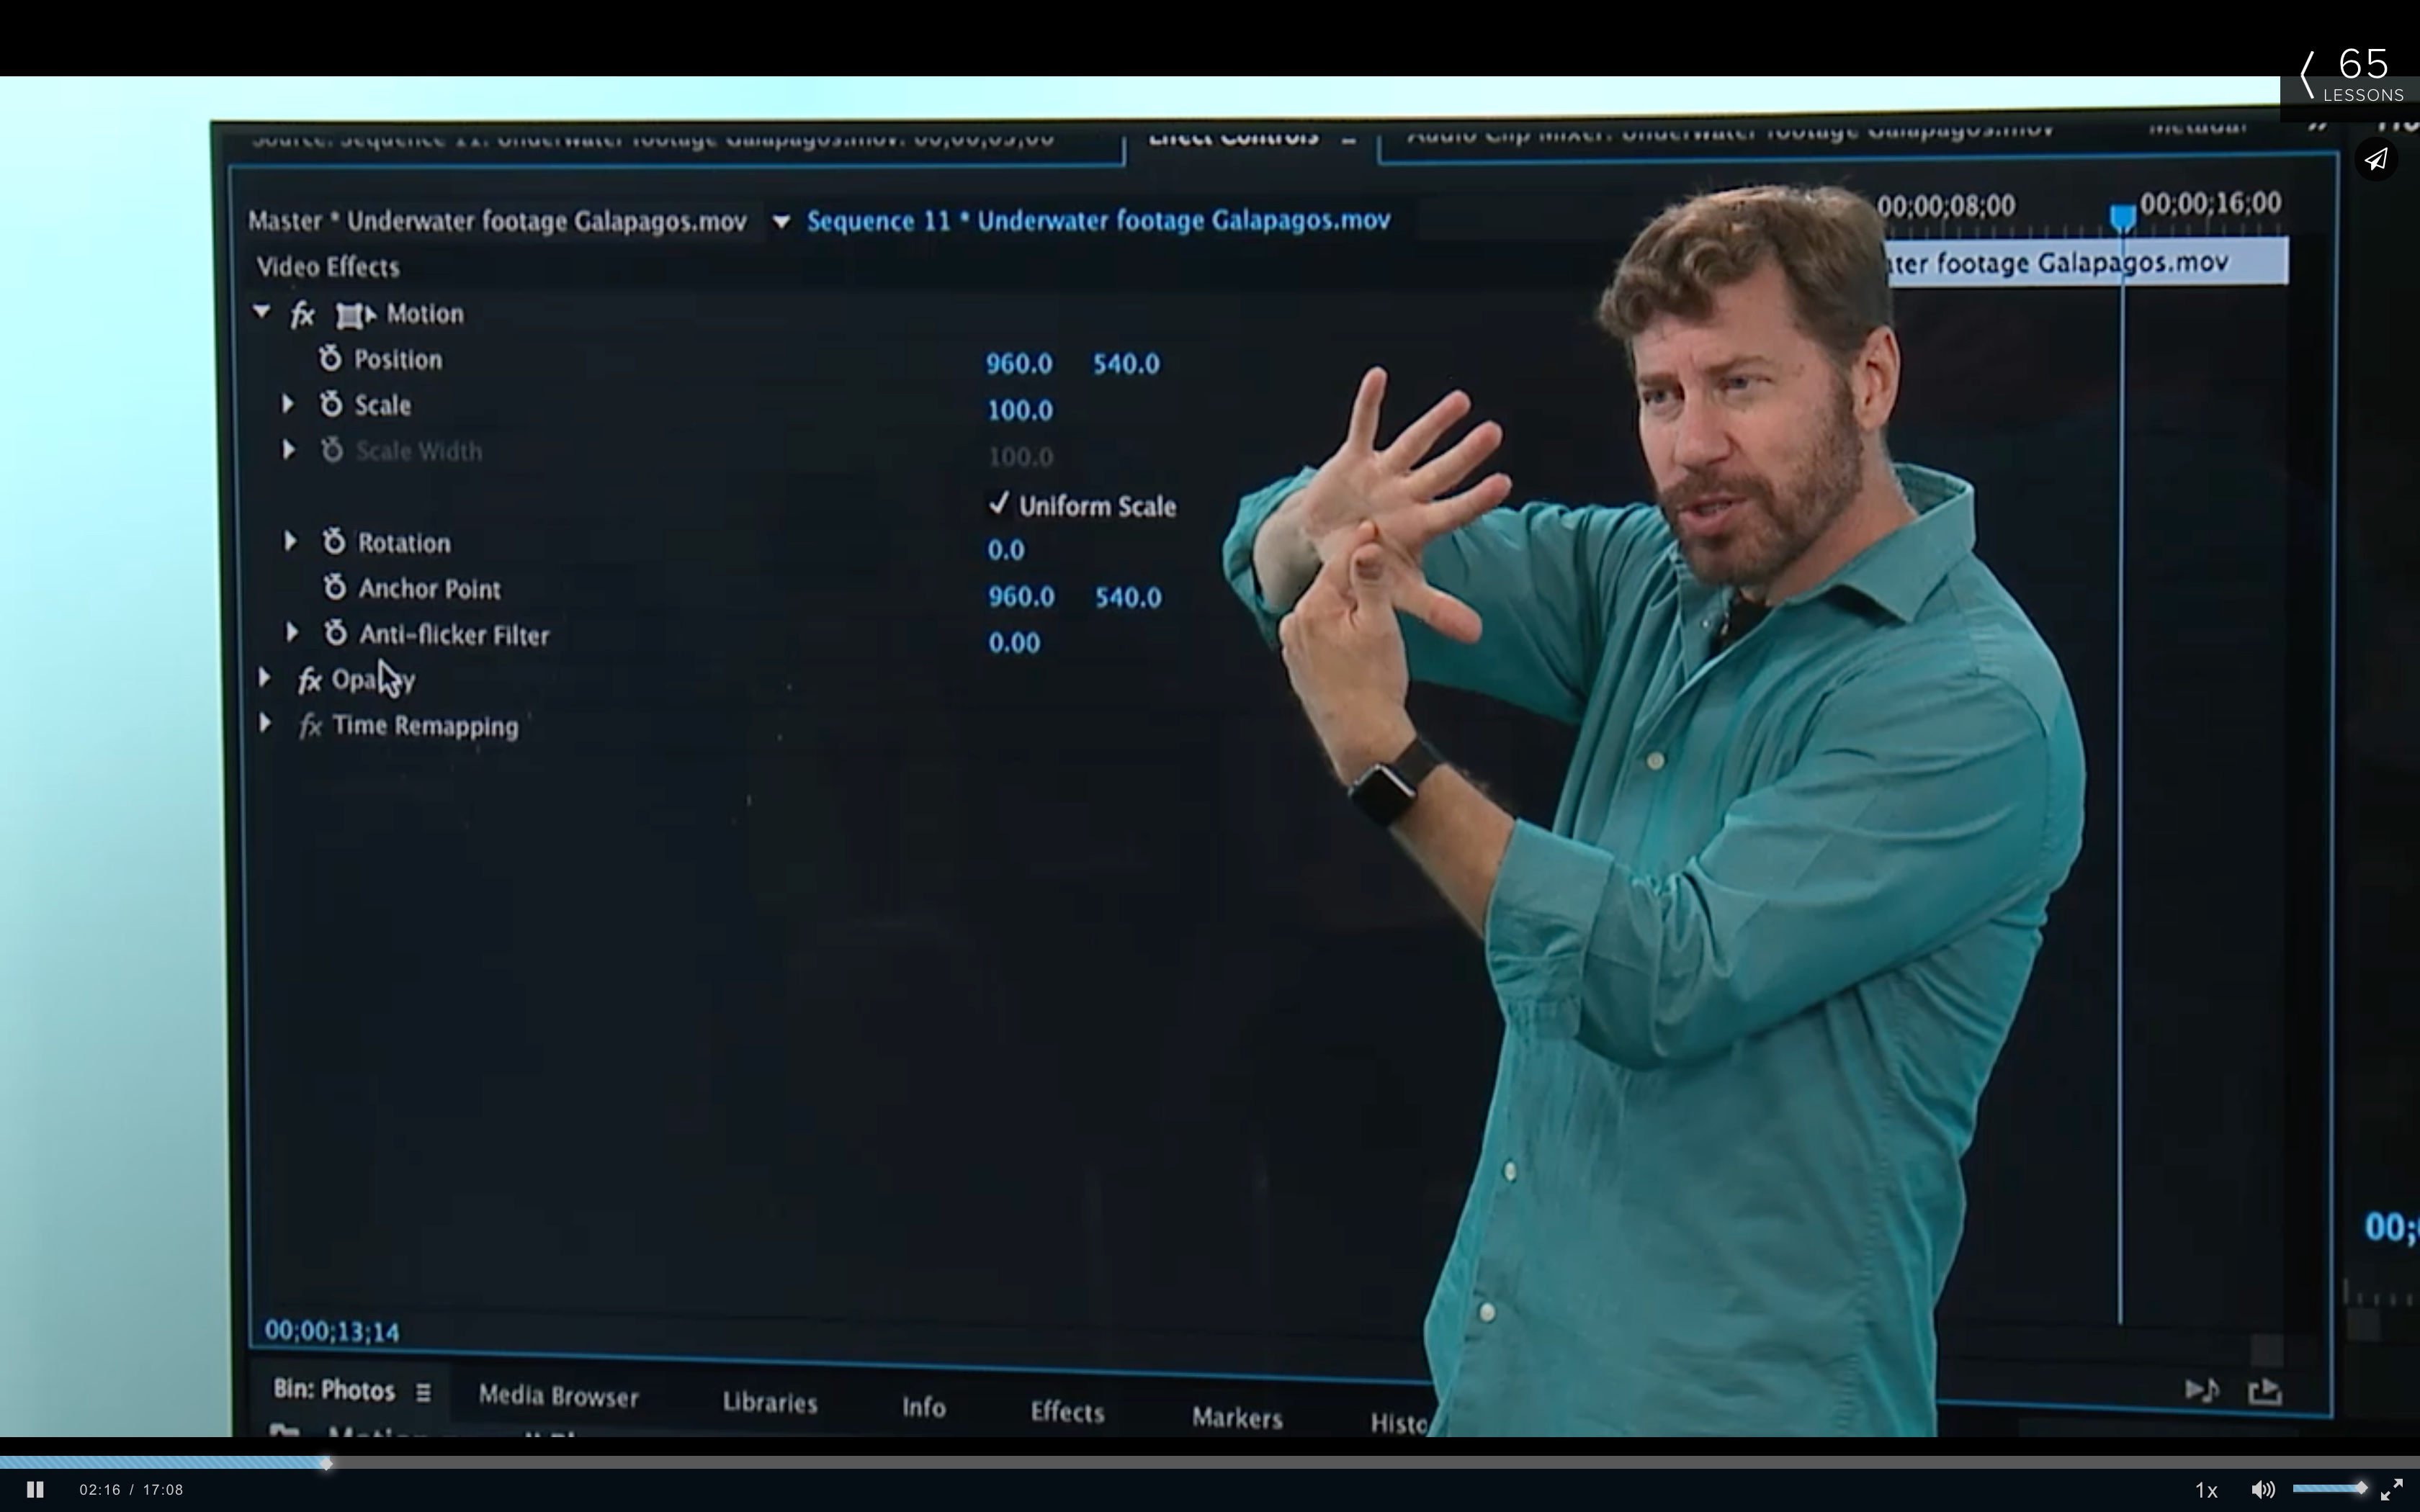
Adobe Premiere Pro CC is a super powerful program and sometimes the list of options can seem overwhelming, like when it’s time to output your finished video. (Holy crud! Look at all those choices!) But Abba does a great job of focusing on the best choices for most users, while still devoting a little time to familiarizing you with other options so you know where to look if the need should arise. He also does a good job of repeating key points so that they actually sink in. After thoroughly covering the process of ingesting footage, managing assets, editing, working with audio, applying effects, adding titles, color correcting, and outputting finished files, he also devotes some time to advanced editing techniques, like speed changes, multi-camera editing, morph cuts, green screens, and one of my favorites: time-lapse videos (here’s an underwater timelapse I shot of starfish and a tutorial of how I shot it)
What I Didn’t Like About the Class:
The downside of having such a complete class is that it is very long! The class is intended to be taken over the course of 20 days with a one-hour lesson each day. But you will spend longer than an hour on each lesson as you’ll be pausing the video and trying out the techniques yourself. That wasn’t necessarily a problem in itself, (in fact you could consider this a positive), but I didn’t feel like I really needed to watch the studio audience members asking questions at the beginning of each lesson. I would prefer to have those sections edited out and just get straight to it. I think each of the lessons could have been edited a bit tighter and therefore have condensed the whole class into a more manageable length.
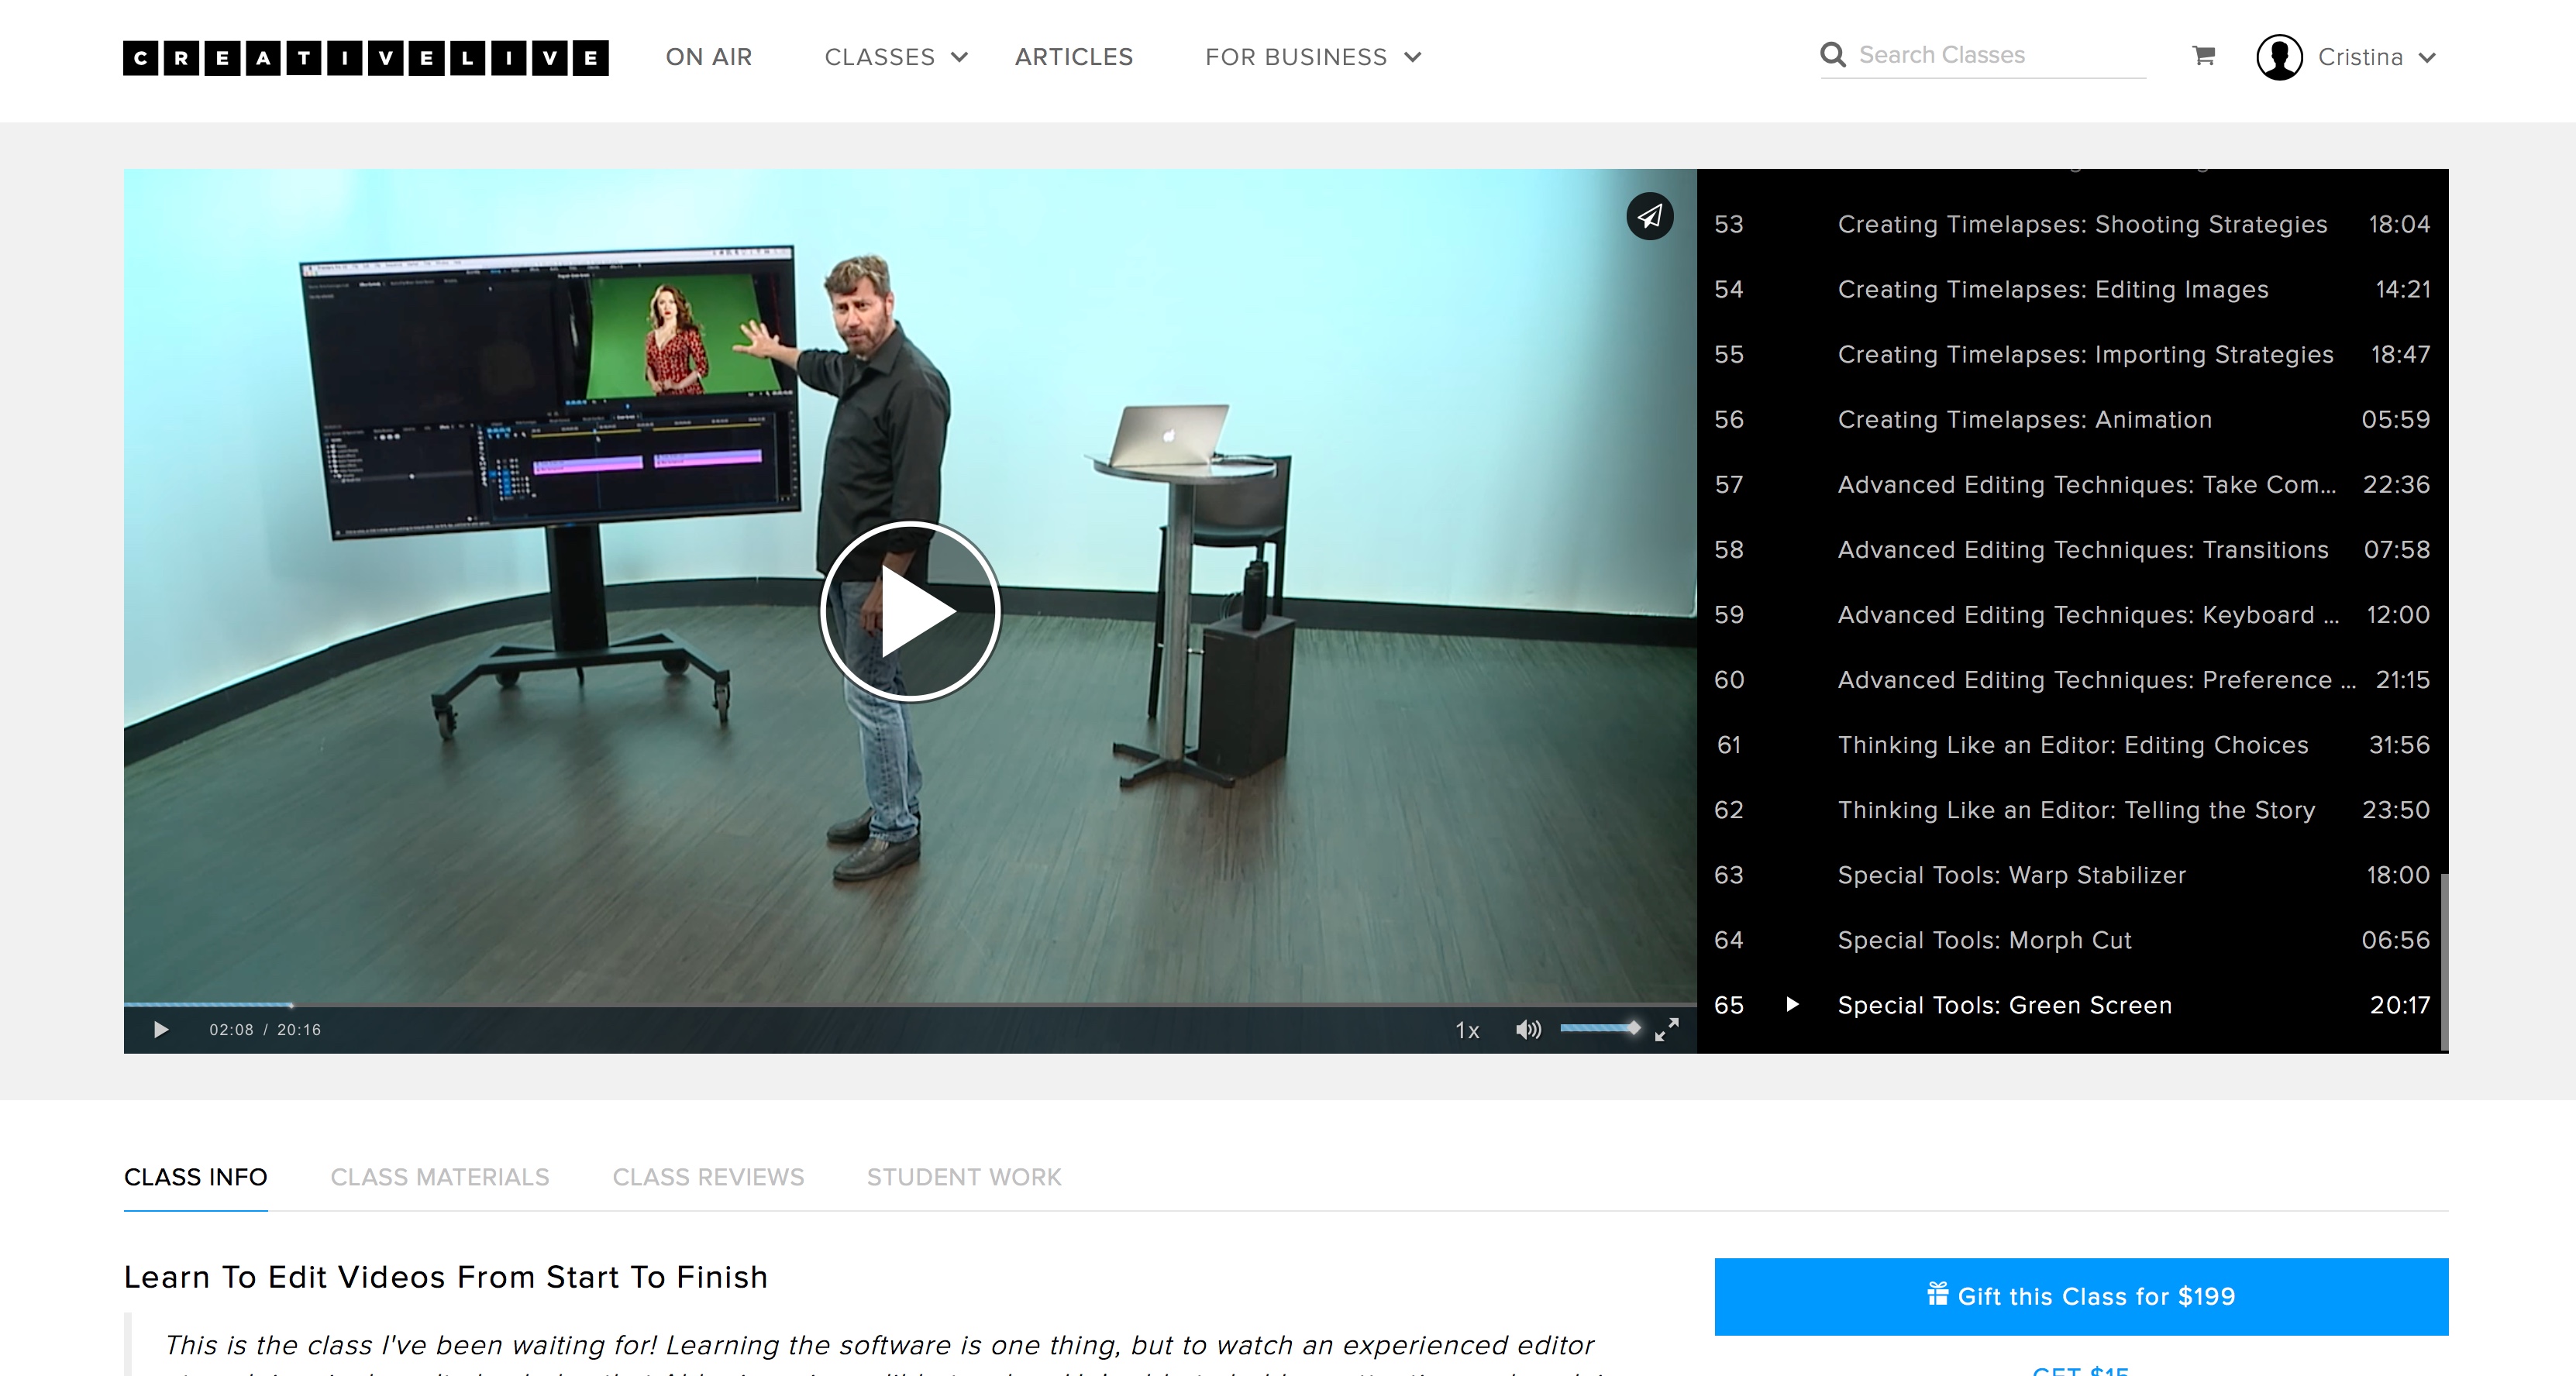
Another issue is that that newer versions of Adobe Premiere Pro CC have been released since the version used in the classes. While this wasn’t a problem for most of the lessons, there was an instance where something had changed enough that the lesson was no longer relevant: the titling tool, which has since been completely redesigned (though the legacy titling tool is still available if you want to follow along in these lessons.)
These are both minor issues and overall the class is really well done. Abba definitely knows his stuff. All in all this is definitely the way to learn to edit videos, by watching these Adobe Premiere Pro tutorials from CreativeLive. Check out this class here.
Are you ready to learn how to edit videos? Then sign up for these Adobe Premiere Pro tutorials from CreativeLive. Get out there, get shooting, have fun, learn to edit, and share that magical moment with the world!
Disclaimer: I received the Adobe Premiere Pro tutorials about How to Edit Videos from CreativeLive for free in exchange for writing this article, but all the opinions expressed herein are entirely my own.
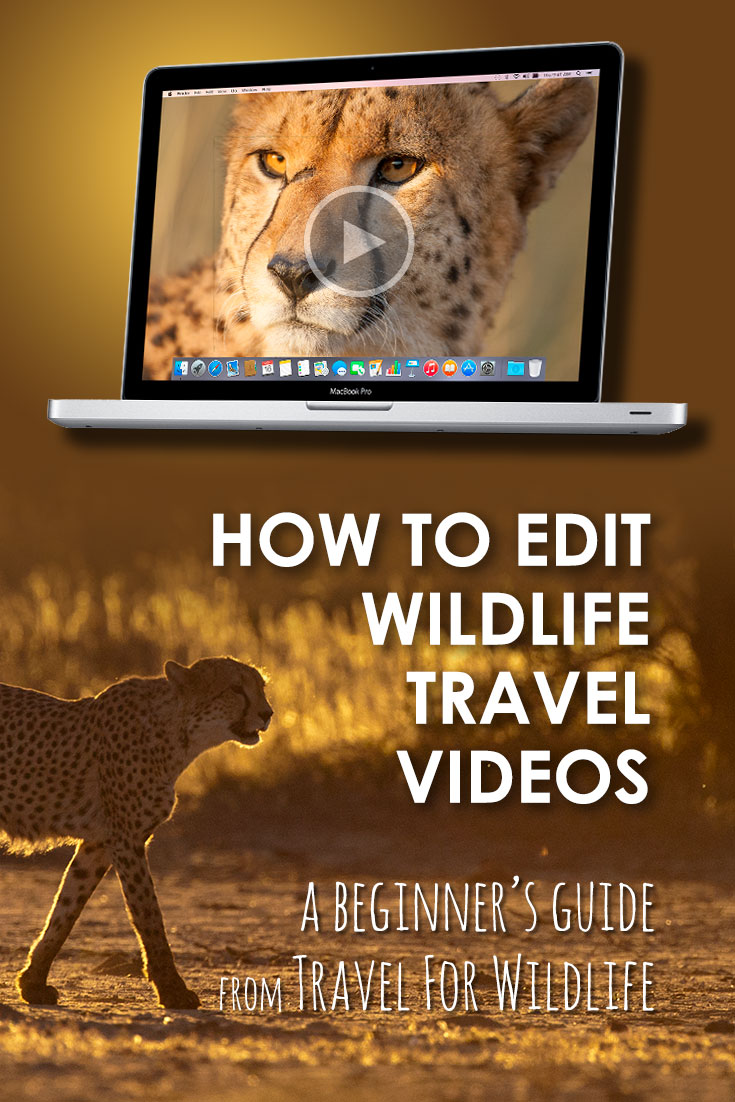
Enjoy this article? Pin it!
Hal Brindley
Brindley is an American conservation biologist, wildlife photographer, filmmaker, writer, and illustrator living in Asheville, NC. He studied black-footed cats in Namibia for his master’s research, has traveled to all seven continents, and loves native plant gardening. See more of his work at Travel for Wildlife, Truly Wild, Our Wild Yard, & Naturalist Studio.